
 First, i applied my foundation, concealer and powder to the whole of my face ( including lips ). I then applied my usual make-up look to my eyes, with a little eyeliner in the outer corners of my eyes and a splash of mascara on my lashes. I always do my lips last, i don't know why, i just like to work down the face, rather than scattered about.
I then grabbed my Cherry coloured lip liner from Barry M (you can get this colour anywhere! it doesn't have to be Barry M.)
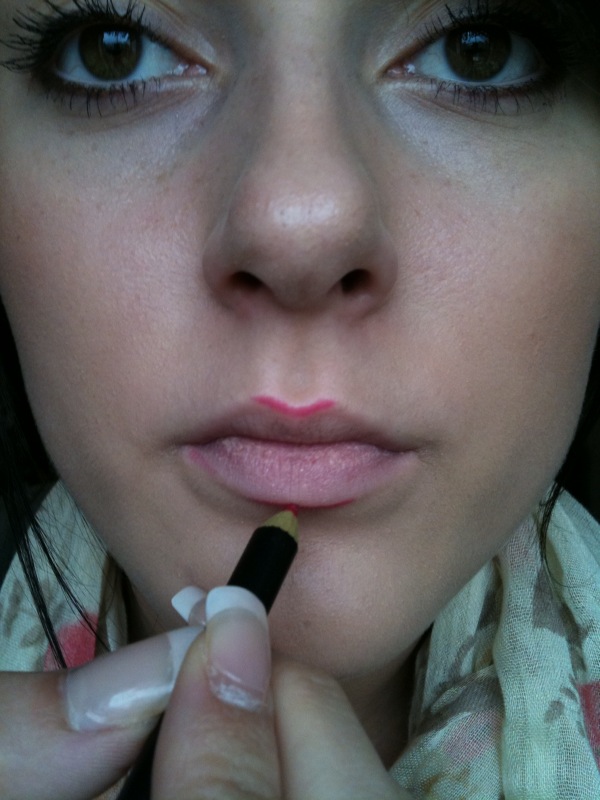
I then started to line the top part of my lips ( the cupids bow ) to enhance the points, you can shape them to whatever you prefer, i just like to stick to my natural lip shape. The good thing about applying foundation all over the lip area, is that it blends your lips into your skin, so you can have what ever shape lip you desire.
After applying the lip liner just to the cupids bow, i then went along the bottom of my bottom lip which is where you can choose how big you want it, again i just went along my original lip line, but you can make it look larger by lining just below your natural lip line.

 Once you have the top and bottom main parts lined, all you have to do now is line to the edge of the lip along the natural part if your going to do your lips like i have.

All i did after was colour the whole lip with the pencil to help make the lip colour stay longer than a smudgy lipstick. You can do this before you apply your lipstick to help maintain the colour.
Using lip liner to colour the whole lip also gives a matte finish if your not a big fan of shiney, shimmery, or glossy lipsticks.
I hope this helps, please leave feedback so i know what you all think!
No comments:
Post a Comment